
Thanksgiving Pillow Covers Free Crochet Pattern

Crochet Throw Pillows for Thanksgiving
Thanksgiving is just around the corner here in Canada (we celebrate in October), and I’m feeling especially thankful and blessed this year. I’ve started a habit of listing off at least 10 things that I’m grateful for every morning before I get out of bed to start my day. It reminds me not to stress out over the little things and compare my life to what I see on social media, which we can all be guilty of doing from time to time. To celebrate the season of giving thanks, I thought I’d share the pattern for these Thanksgiving themed crochet pillow covers with you.
How to Crochet These Pillows
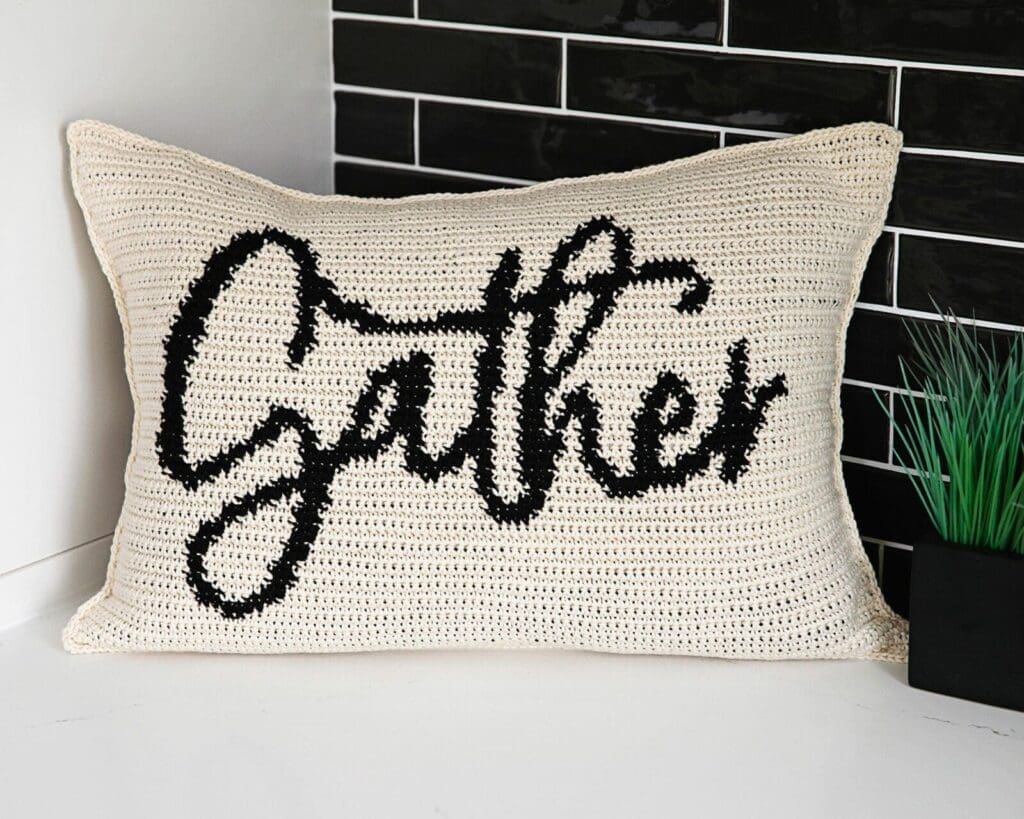
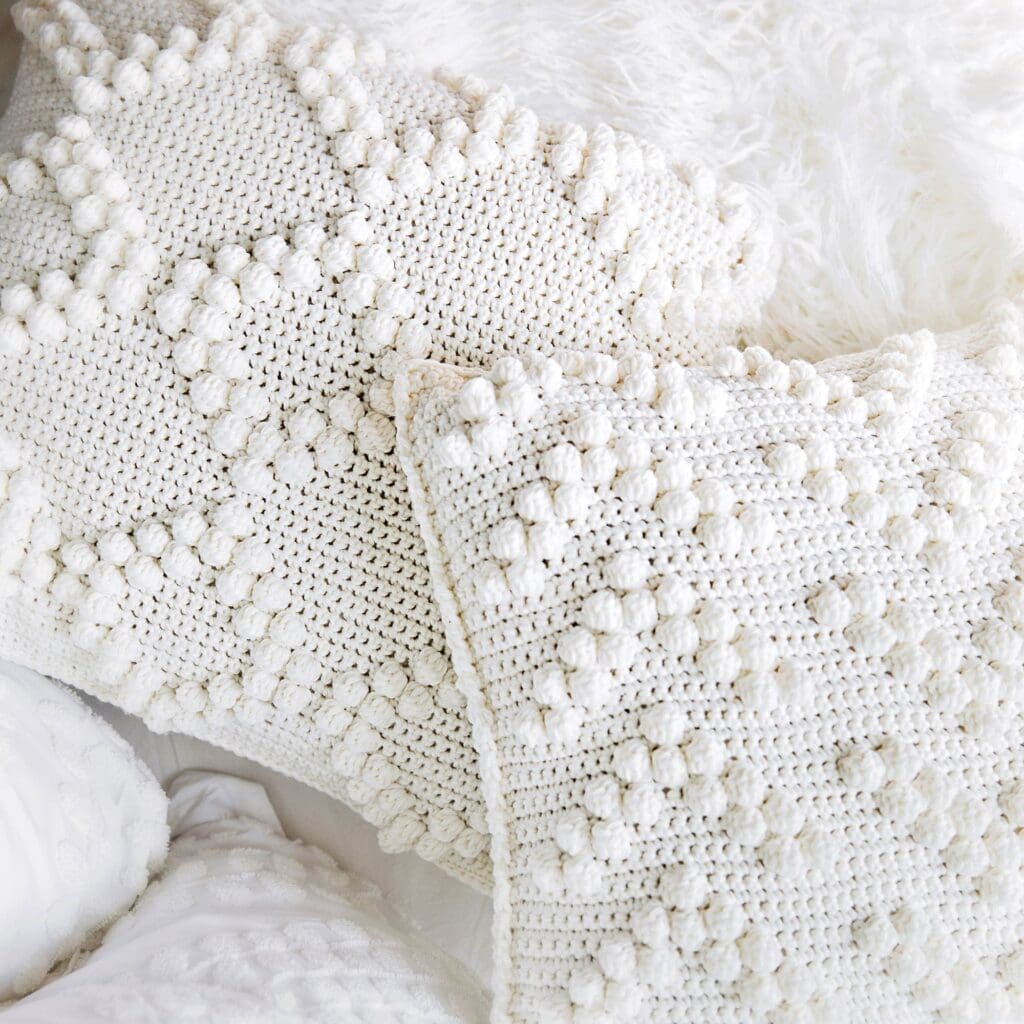
These pillow covers are made using tapestry crochet, which is a technique that lets you work up detailed, colourful patterns by carrying two or more yarns at the same time. While you crochet with one colour, the others are hidden inside the stitches, making the fabric thick and durable.It’s awesome because there are no messy strands hanging out on the back. Tapestry crochet is perfect for creating bold designs that stand out, whether you’re going for fun shapes, words, or something more intricate. Plus, it makes the pillows feel extra sturdy and stylish!
If you are new to tapestry crochet, please watch my video on Youtube, where I demonstrate how to hold your yarn and follow a tapestry crochet chart: Tapestry Crochet Tutorial. I’ve also included it below with the pattern on this page, so you can also just scroll down. I know that once you watch it, you’ll feel confident and inspired to get started on these pillow covers! I hope you enjoy the pattern and use the pillows as a little reminder to count your blessings every day.
Spread the Word!
I hope you enjoy this pattern! If so, please feel free to share the link to this page on your social media or Pinterest account.
I truly appreciate all of you who get the word out about this site and my patterns!
❤️
Alnaar
[apsp-pin-image image_url=’https://www.pinterest.com/pin/480618591503130879/’]
Please note that some of the links on this page are affiliate links and I will earn a commission if you purchase through these links. I use all of the products listed on this page and recommend them because they are companies that I have found helpful and trustworthy. Please let me know if you have any questions about anything I have recommended!
Materials:
The following materials are required to make two throw pillows:
- A size G-6 (4 mm) Crochet Hook
- Knit Picks Comfy Worsted Weight Yarn
- 14 Skeins Ivory (Color A)
- 2 Skeins Black (Color B)
- Scissors
- Two 14” X 20” Pillow Forms
- Tapestry/Yarn needle to weave in ends
Ad Free PDF File
The free pattern for these crochet pillow covers is available right here on this page, as this site is sustained through ad support.
If you like things a little more streamlined, I’ve put together an ad-free, downloadable PDF version of the pattern. It’s perfect for easy printing and can be can be purchased through My Ravelry Store or by clicking the “Purchase PDF File” button to the right.
Thank you so much for your support! It means the world to me, and I’m beyond grateful to be able to share my passion with you all.
Measurements:
Each rectangular panel measures 14” X 20” for a 14” X 20” throw pillow. You can use a different sized hook and weight of yarn to alter the pattern for a larger or smaller pillow size. Another option is to add (or remove) stitches at the sides and top of pattern.

Gauge:
5 stitches X 4.25 Rows = 1 inch in single crochet.
Abbreviations:
SC: Single Crochet
CH: Chain
Pattern Notes:
The front panel of the throw pillow is worked using the tapestry crochet technique. If you are not familiar with tapestry crochet, it’s a good idea to view the following tutorial that I’ve created on tapestry crochet below.
Tapestry Crochet Video Tutorial
How to Read a Tapestry Crochet Pattern
- When reading the pattern grid, note that the odd numbered rows are the right side,
and the even numbered rows are the wrong side. - It’s a good idea to print the grid and highlight the rows as they are completed.
- Right side rows are to be read right to left
- Wrong side rows are to be read left to right
- All rows are worked with both strands of yarn to keep the gauge and tension
consistent. It is best to crochet tightly to avoid the second color being seen through the stitches. - When working a right side row, hold Color B yarn to the back of your work.
- When working a wrong side row, hold Color B yarn to the front of your work.
- Crochet over the second yarn (yarn not in use) when working each SC to avoid floats
(this is not necessary for the pillow covers but the end result looks neater
and is reversible).
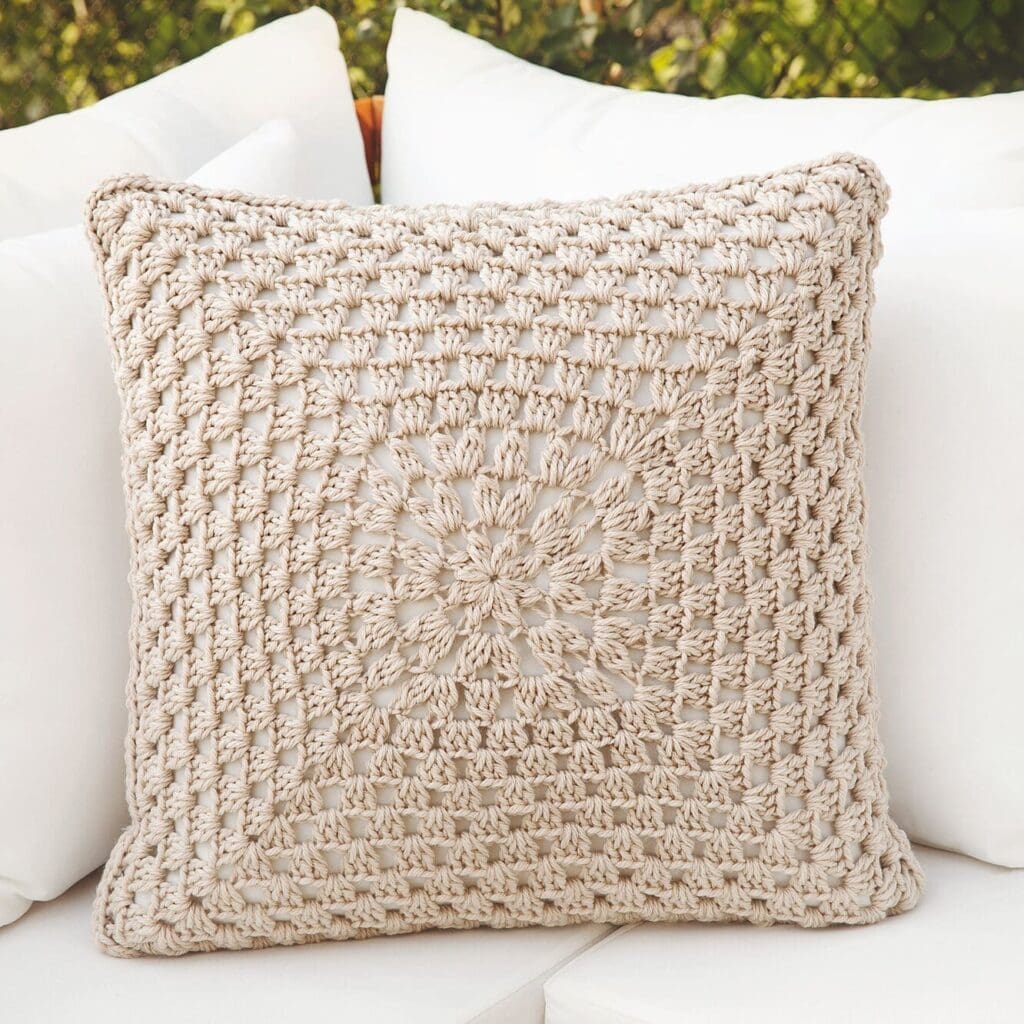
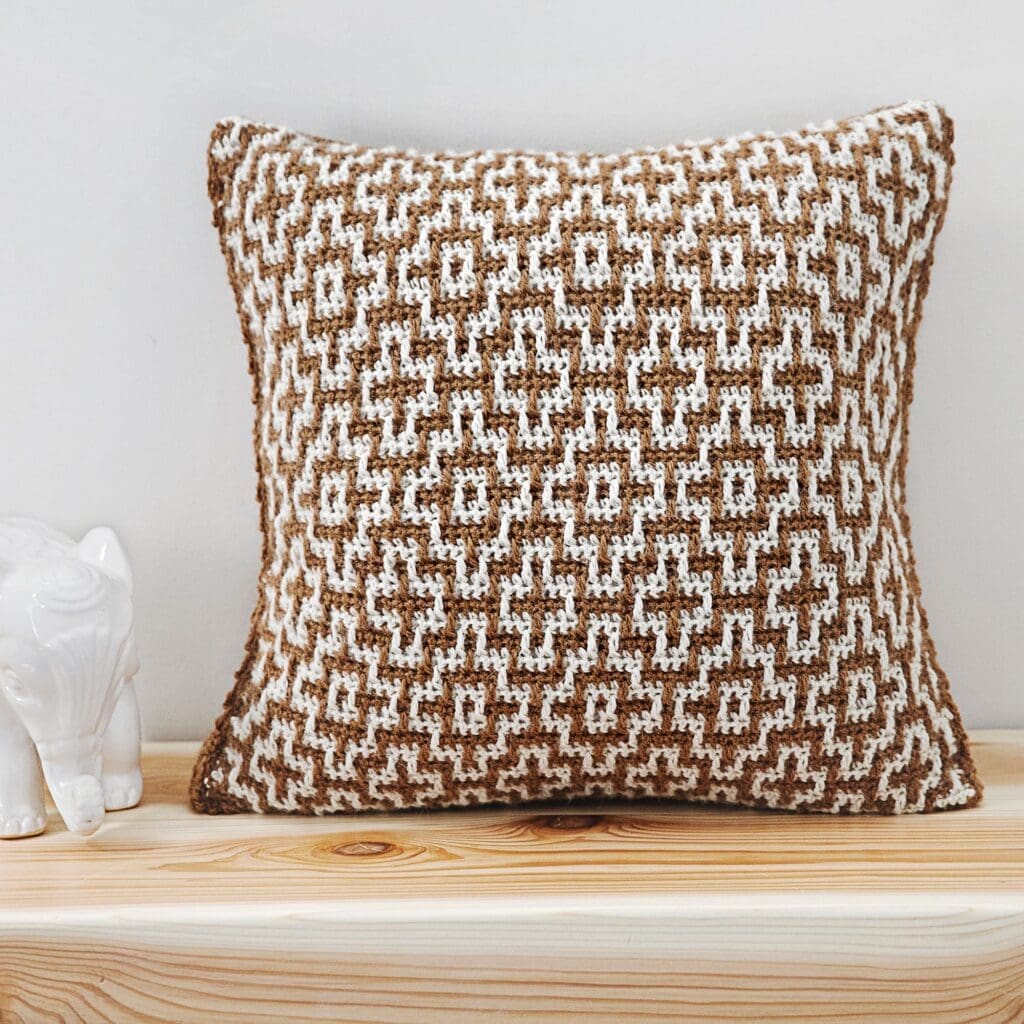
More Pillow Cover Crochet Patterns from Leelee Knits!
Free Pillow Cover Crochet Pattern
Make Back Panels (make one for each pillow):
With Color A, CH 101 (100 plus 1 for turning chain). Work all stitches in single crochet (plus one turning chain at the end of each row) for 60 rows. Fasten off.
Make Front Panels:
With Color A, CH 101 (100 plus 1 for turning chain). Work all stitches in single crochet. Follow grids below starting at bottom right for row 1 and changing to Color B for the grey cells. Each cell represents one SC and each row represents one row of crochet.


Finishing Instructions:
Weave in any loose ends.
Line up the front and back panels (make sure the right sides are facing outwards) and seam the sides of the cover together using whichever seaming method you prefer (I used the single crochet seaming method to avoid sewing). After you have seamed 3 of the sides, insert the pillow form and continue to seam up the last side.

Pattern PDF File
I hope you enjoyed the pattern for these free crochet pillow covers.
If you’d like your own copy, the Ad-Free PDF file (which will be emailed to you automatically) can be purchased through Ravelry, or by clicking the “Purchase PDF File” button to the right.
Thank you so much for your support! It means the world to me, and I’m beyond grateful to be able to share my passion with you all.
Your pillow covers are gorgeous, Alnaar! Just what I was looking for. Question..I’m in Canada as well (Ontario). Where are you getting this yarn? Are you ordering from the states or does someone sell it in Canada? What do you think would be a suitable substitute. I already looked on yarnsub and didn’t see any names that I’ve ever seen. Would any worsted weight work? Any suggestions? Thankyou!
Hi Colleen, I order it online (link is in the materials list). There is no shipping cost to Canada if you spend a certain amount (which is no problem for me lol). I think its $75. You could definitely use another worsted weight yarn but do check the gauge before you start so that the size not too big or small for your pillow form.
I was only able to find 12×20 pillow forms. It should be okay as long as I omit equal amounts of rows from the top and bottom right?
Yes, Just cut down on the top and bottom rows and you’ll be fine 🙂
Does it really take 14 skeins of ivory?? If so, the yarn alone is $64.
Hi Anna, you will need 14 skeins for two pillows (7 for one). The skeins are only 50 grams, but you could also make them with a different worsted weight yarn that is not as expensive. For example, the Knit Picks Brava line is less expensive and the skeins are 100 grams so you wouldn’t need as many.
This is a great pillow and you can use stuffing if you can’t find pillow form. Would love to see the entire alphabet so you can personalize pillow with family name