Festive Christmas Crochet Pillows – Free Pattern

Christmas is hands-down my favourite time of year! There’s just something so very magical about the season, which is why every year, I make it a tradition to design festive crochet home decor. This year, I’m sharing something extra special—Crochet Christmas Throw Pillow Covers!
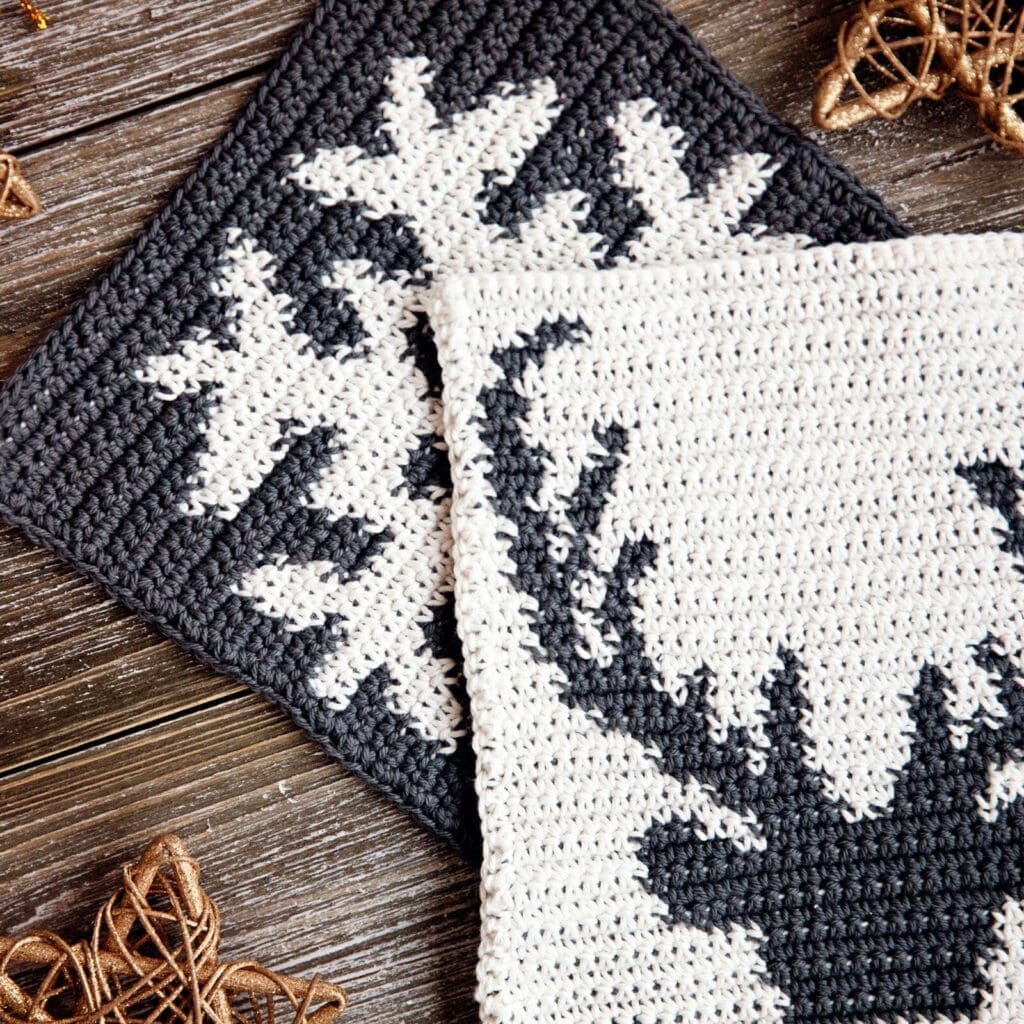
I also love blending crochet with pixel art, and I came up with two designs are truly one-of-a-kind. The first features a classic reindeer—because, what’s Christmas without reindeer? And the second spells out “Joy” with a twist: a snowflake standing in for the letter O. These patterns are cozy, festive, and the perfect way to add a handmade touch to your Christmas decor!
Pay it Forward!
I hope you enjoy this pattern as much I did creating it! Please feel free to share the link to this page on your social media or Pinterest account.
I truly appreciate all of you who get the word out about this site and my patterns!
❤️ Alnaar
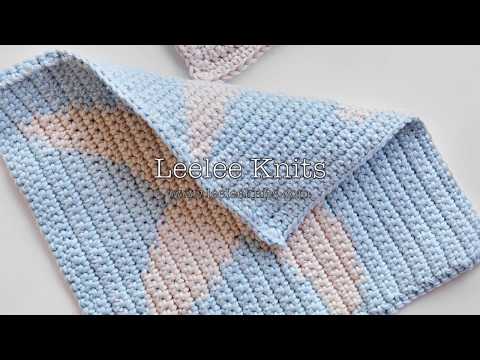
The pattern for these Christmas pillow covers is easy to follow if you have experience with tapestry crochet.
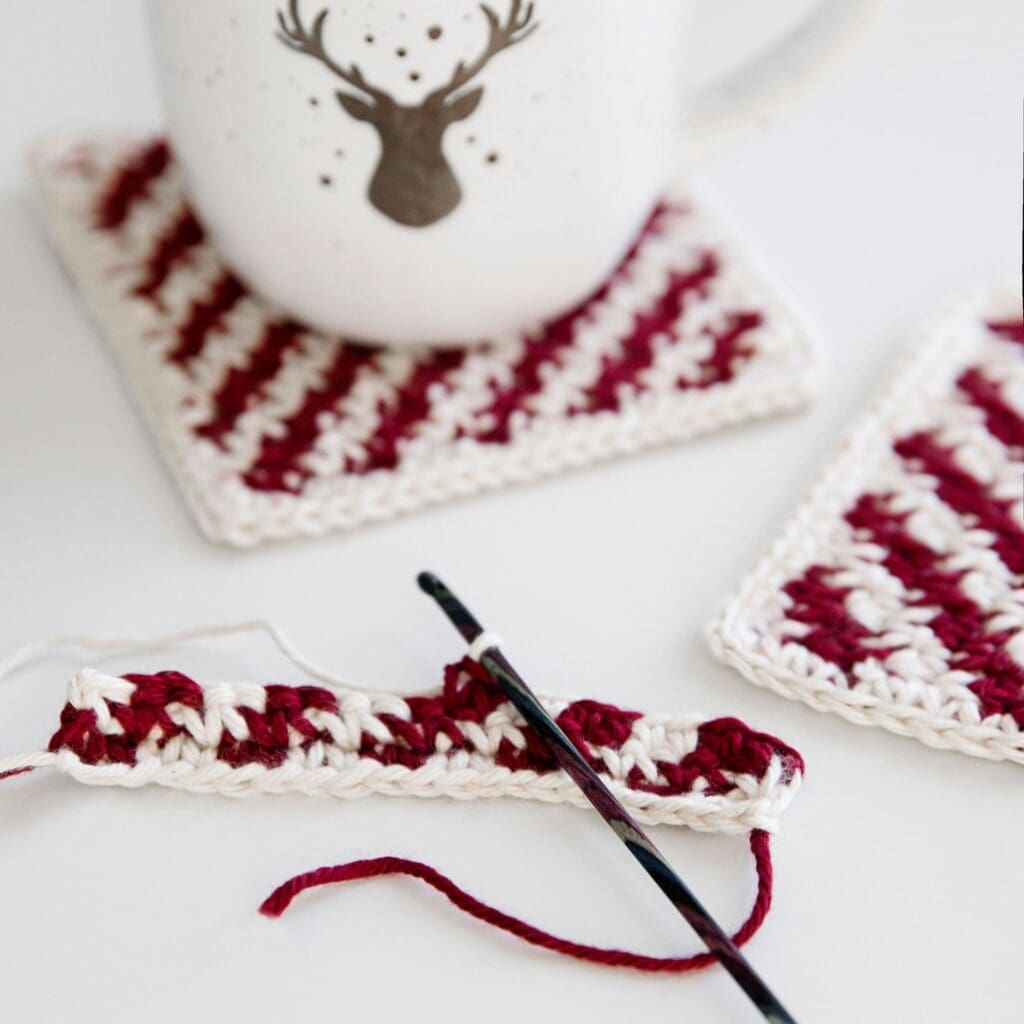
If you’re new to this technique, Tapestry crochet is pretty much like colouring with yarn! Instead of using just one colour, you use two or more and carry them along while you crochet. You switch colours to make pictures or patterns, like stripes, shapes, or even animals, just like drawing but with yarn and a crochet hook. The best part? When you’re done, your colourful “drawing” is now a cozy thing you can use, like a blanket or a festive pillow cover!
Here is a video on Tapestry crochet that I made a while back for those of you who are new to crocheting with two colours: How to Crochet with Two Colours.
Once you practice a little bit and get used to holding two strands of yarn, I know you’ll find it super easy and fun, seeing the design come to life as you crochet each row of these Christmas pillow covers.

Please note that some of the links on this page are affiliate links and I will earn a commission if you purchase through these links. I use all of the products listed on this page and recommend them because they are companies that I have found helpful and trustworthy. Please let me know if you have any questions about anything I have recommended!
Festive Christmas Crochet Throw Pillows Pattern
Materials:
- A size G-6 (4 mm) Crochet Hook
- Knit Picks Brava Worsted Weight Yarn:
- 7 Skeins Dove Heather (Color A)
- 1 Skein Wine (Color B)
- Scissors
- Two 14” X 20” Pillow Forms
- Tapestry/Yarn needle

Pattern PDF File
The free pattern for these Christmas Crochet Throw Pillows is available right here on this page, as this site is sustained through ad support.
If you’d like your own copy, the Ad-Free PDF file (which will be emailed to you automatically) can be purchased through Ravelry, or by clicking the “Purchase PDF File” button to the right.
Thank you so much for your support! It means the world to me, and I’m beyond grateful to be able to share my passion with you all.
Measurements:
Each rectangular panel measures 14” X 20” for a 14” X 20” throw pillow. You can use a different sized hook and weight of yarn to alter the pattern for a larger or smaller pillow size. Another option is to add (or remove) stitches at the sides and top of pattern. It is very important to check the gauge to make sure that your panels end up being the correct size.
Gauge:
4.5 stitches X 3.75 Rows = 1 inch in single crochet.
Abbreviations
SC: Single Crochet.
CH: Chain.
More Free Christmas Crochet Patterns from Leelee Knits:

Pattern Notes:
The front panel of the throw pillow is worked using the tapestry crochet technique. If you are not familiar with tapestry crochet, it’s a good idea to view my online tutorial below before you start.
- When reading the pattern grid, note that the odd numbered rows are the right side, and the even numbered rows are the wrong side.
- It’s a good idea to print the grid and highlight the rows as they are completed.
- Right side rows are to be read right to left
- Wrong side rows are to be read left to right
- All rows are worked with both strands of yarn to keep the gauge and tension consistent. It is best to crochet tightly to avoid the second color being seen through the stitches.
- When working a right side row, hold Color B yarn to the back of your work.
- When working a wrong side row, hold Color B yarn to the front of your work.
- Crochet over the second yarn (yarn not in use) when working each SC to avoid floats (this is not necessary for the pillow covers but the end result looks neater and is reversible).

Pattern:
Back Panels (make one for each pillow):
With Color A, CH 91 (90 plus 1 for turning chain). Work all stitches in single crochet (plus one turning chain at the end of each row) for 54 rows. Fasten off.
Front Panels:
With Color A, CH 91 (90 plus 1 for turning chain). Work all stitches in single crochet. Follow the grids below starting at the bottom right for row 1 and changing to Color B for the red cells. Each cell represents one SC, and each row represents one row of crochet.


Finishing:
Weave in any loose ends.
Line up the front and back panels (make sure the right sides are facing outwards) and seam the sides of the cover together using whichever seaming method you prefer (I used the single crochet seaming method in Color B to avoid sewing and add a pop of color for the border). After you have seamed 3 of the sides, insert the pillow form and continue to seam up the last side.
Pattern PDF File
I hope you enjoyed this free pattern for Crochet Christmas Throw Pillows.
If you’d like your own copy, the Ad-Free PDF file (which will be emailed to you automatically) can be purchased through Ravelry, or by clicking the “Purchase PDF File” button to the right.
Thank you so much for your support! It means the world to me, and I’m beyond grateful to be able to share my passion with you all.